

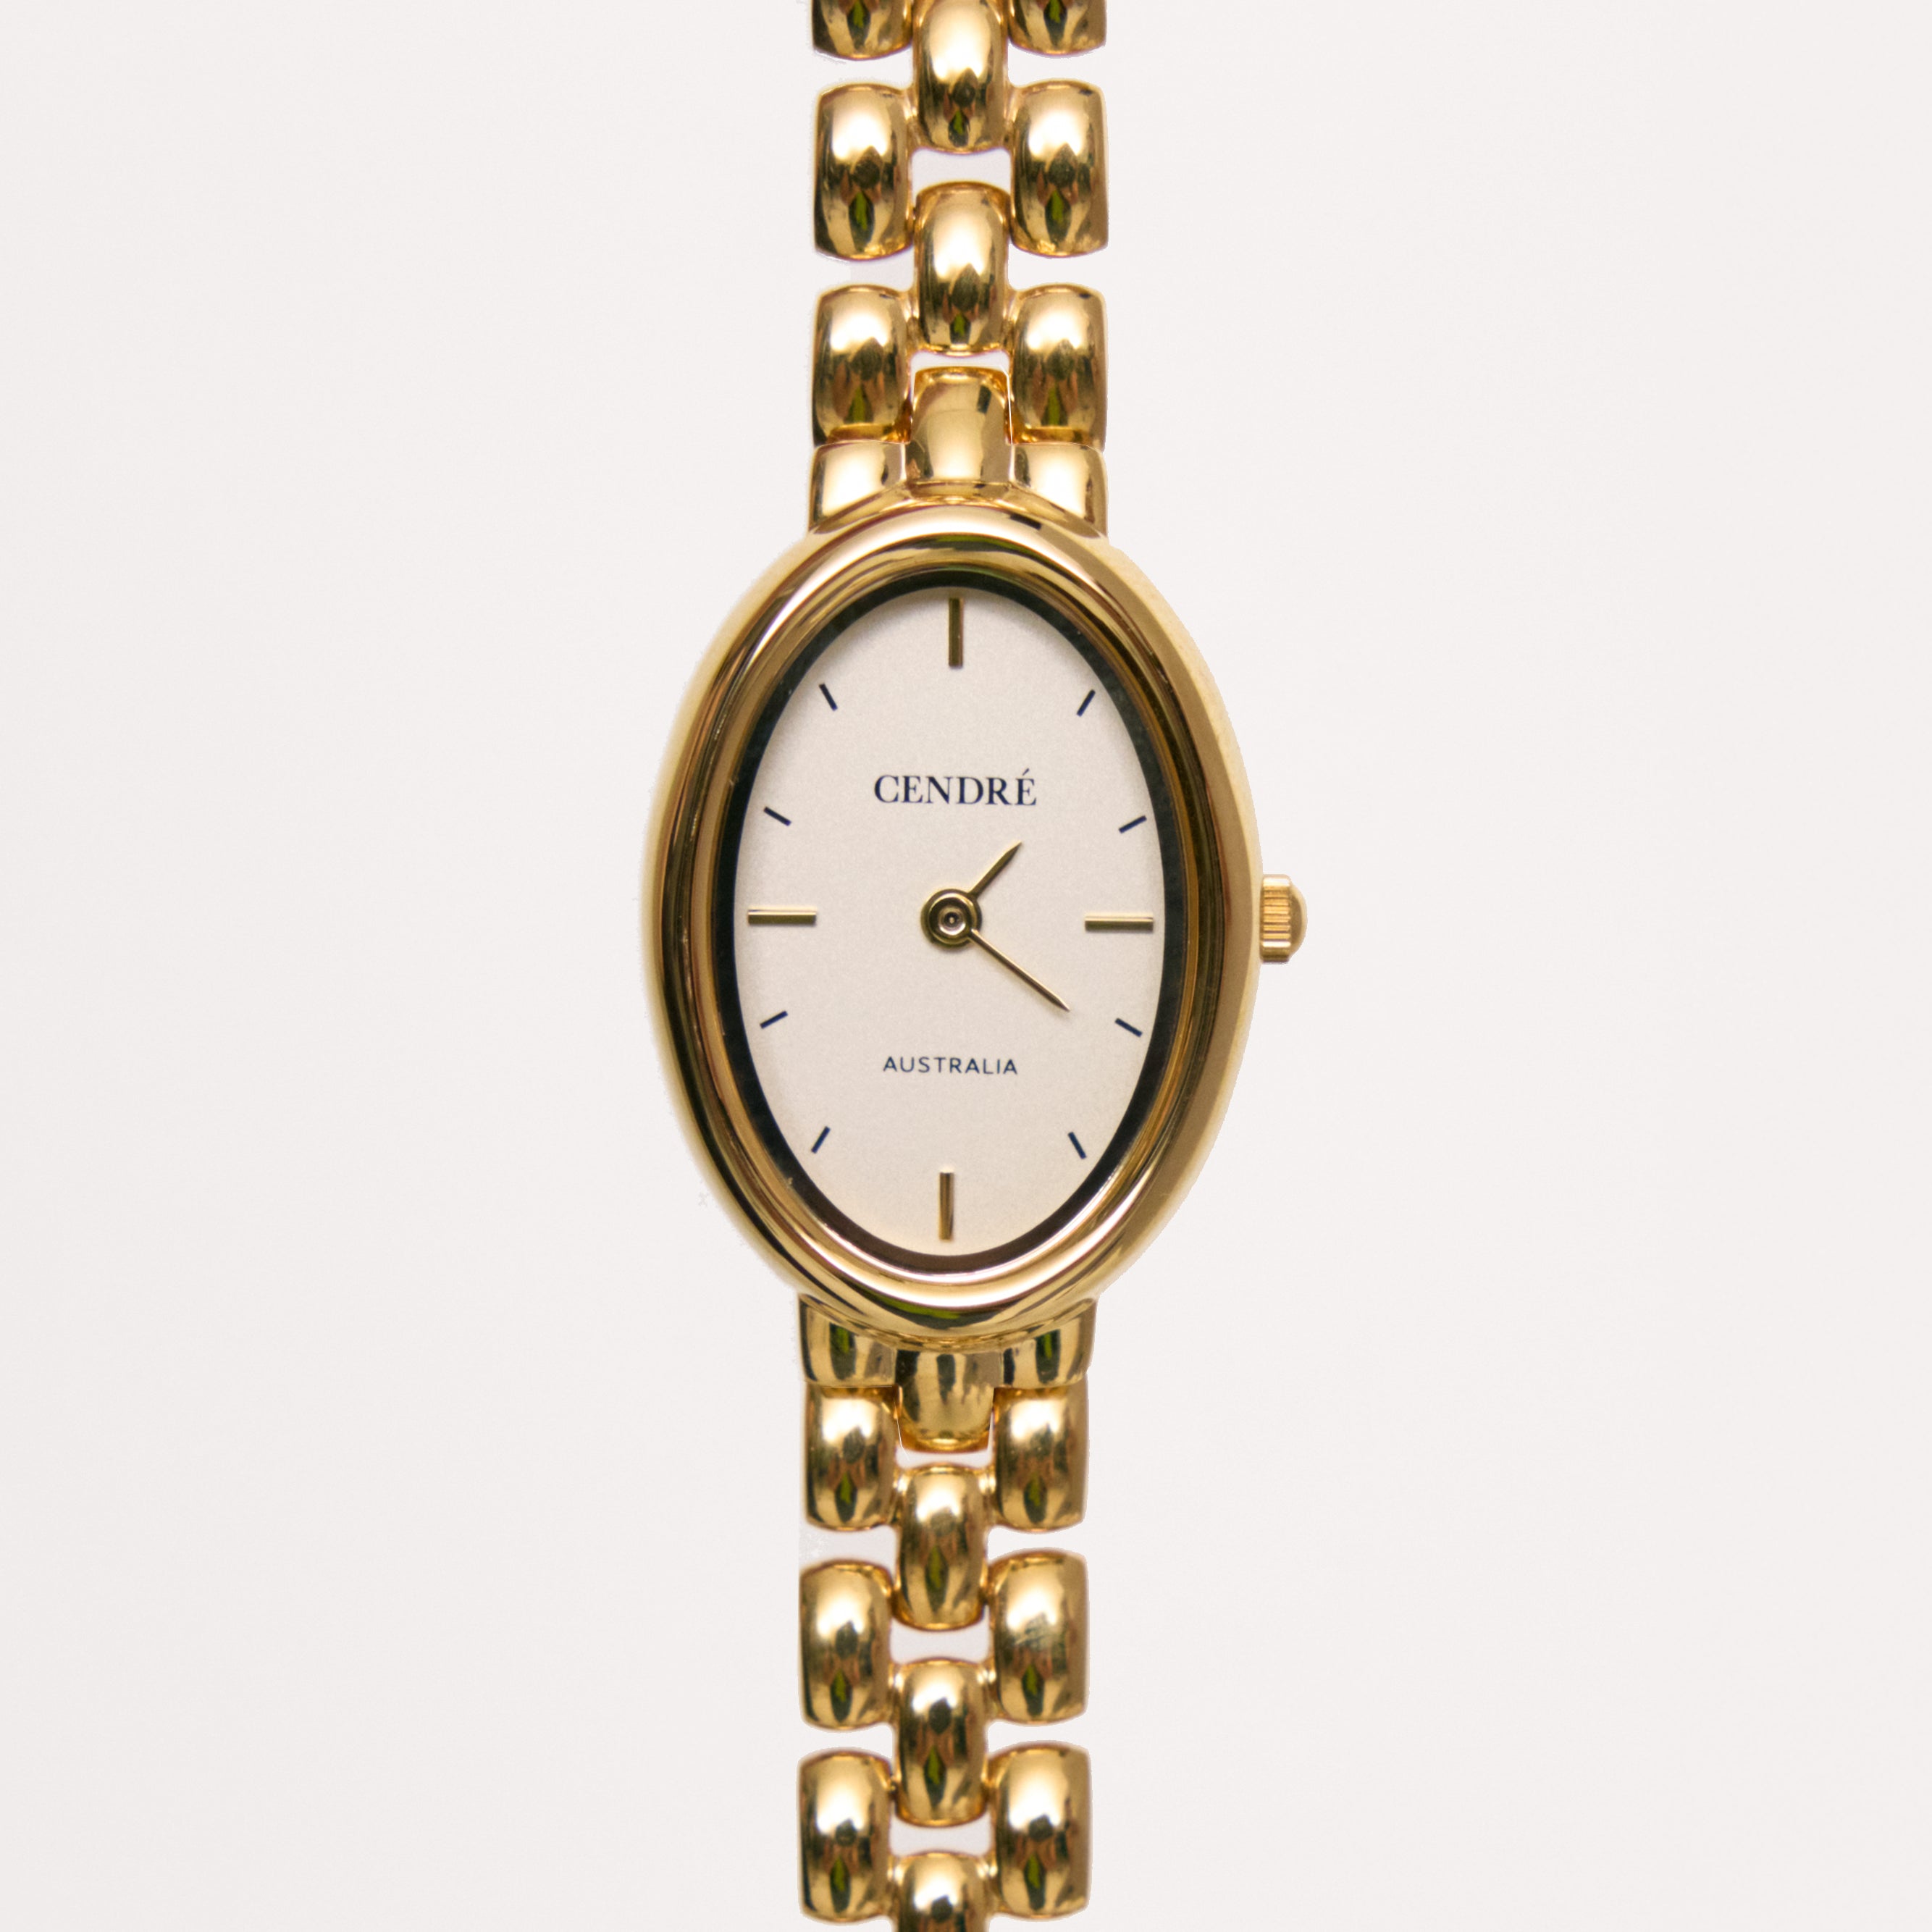
RESIZING YOUR
Cendré Watch
Cendré timepieces feature our signature resizable metal bands — designed to offer a tailored fit and all-day comfort.
Easily adjust your watch to suit your wrist with our step-by-step guide below.
STEP-BY-STEP GUIDE TO
Resizing Your Cendré Watch


STEP TWO: IDENTIFY HOW MANY LINKS TO REMOVE
With the original sized watch on your wrist, pinch the band together to gauge how tight or loose you’d like it to sit.
In the example above, we are removing 4 links for a tailored fit.

STEP THREE: REMOVING LINKS
Identify the correct direction to push the pin. One side shows a rounded “Flush End”, the other a diamond “Split End”.
You must push from the "Flush End" so that the split end exits first.
Reversing this can damage the band and may require professional repair.

STEP FOUR: REMOVING LINKS
Place the watch in the vice, aligning the resizing tool’s pin with the link hole to meet with the “Flush End”.
Turn the nozzle clockwise to push the pin through as far as it allows. Some resistance is normal – continue until the pin is fully released.
Resizing Tip: We suggest unclipping the clasp to help the band sit more evenly during the process.

STEP FIVE: REMOVING LINKS
Once the pin has been pushed through as far as it allows, use your fingers to pull the rest of the pin out.
Set the pin aside for reassembly.

STEP SIX: RECONNECTING LINKS
To reconnect, precisely align the band back together. If aligned correctly, you should be able to see straight through the link gap.

STEP SEVEN: RECONNECT LINKS
Insert the “Flush End” of the pin through the opposite side you removed the pin from in Step Four as far as it allows.
Resizing Tip: Inserting the “Flush End” first ensures it can be easily altered if need be in future.

STEP EIGHT: SECURE THE LINKS BACK INTO PLACE
Place the band back in the vice with the “Split End” aligning with the resizing tool.
Continue turning the nozzle clockwise to push the pin flush with the band’s edge.
Keep in mind resistance is normal, this ensures a secure reconnection.
Video Tutorials
Prefer a step-by-step video guide?
Select your Cendré watch below to view a tailored resizing tutorial.
Need Assistance?
If you’d prefer a little guidance, our team is here to help.
Enjoy our signature service — from sizing advice to personalised support, we’re just a message away.
Your Guide To Personalisation
Explore our curated how-to guides to make your Cendré timepiece truly your own.


INTERCHANGEABLE LEATHER WATCHES
Switching up your style?
Here’s how to update your leather band with ease.

RESIZING YOUR CENDRÉ WATCH
Looking for a more tailored fit?
Follow our guide to adjust your metal band.